
Pears have such a short season to enjoy the fresh fruit at its peak. So why not preserve them to enjoy throughout the year?
Here are the easy instructions for how to dehydrate pears in a food dehydrator or oven. You can make dehydrated pear chips or dried pear slices. Both are great for a healthy snack on the go.
Can I Dry Pears?
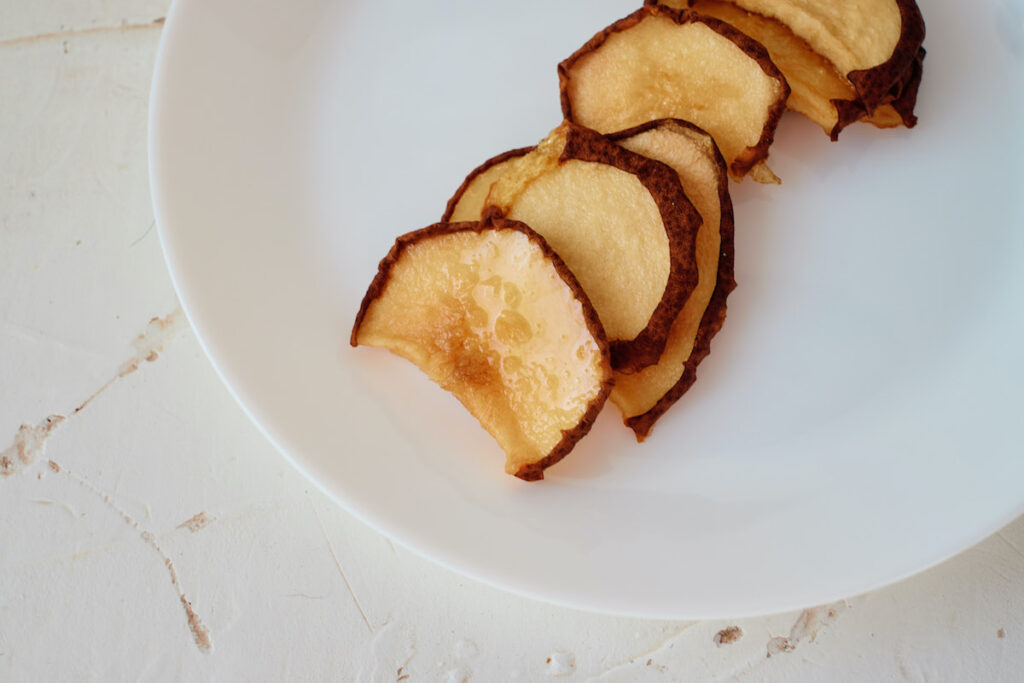
Yes, you can dry pears to make pear chips. Dehydrating the fruit will condense the sugars, creating a sweet pear chip that will satisfy your sweet tooth cravings!
You can make a fruit leather or crisp dried pear slices. It depends on how long you dry the fruit as to the texture that you will have.
Both fresh pears and canned pears can easily be dehydrated.
Adding honey or cinnamon to the pears before drying will create a delicious snack!
Be sure to check out our easy instructions for how to dry pineapple, oranges and blueberries.
How to Dry Pears in a Food Dehydrator
A dehydrator is the best method for drying pears because you can add multiple layers of trays and dry more fruit all at once.
The fruit is set on mesh trays and low heat circulates around the trays inside the dehydrator. This allows for all sides of the fruit, including top and bottom, to become dried out evenly.
Food dehydrators have timed settings, as well. So you can set the timer to cook during the day or even overnight without having to worry about turning it off.
How Long?
Pears are more delicate. So set your food dehydrator to around 140 degrees.
Start checking around 8 hours to see if you like the consistency of the dried pears. It should take between 8-12 hours in a food dehydrator.
Can I Use an Oven to Dehydrate Pears?
You can dehydrate pears in an oven easily.
If you are drying in an oven, set the temperature as low as possible. This varies for every oven, but generally around 120 -210 degrees.
Place a parchment paper-lined baking tray with thin pear slices in the oven.
If your oven has hotter spots than others, make sure that you turn the baking tray around frequently for even drying.
How Long?
Allow to dry for 6-8 hours, depending on the texture that you would like. Start checking the fruit at 6 hours, and continue to check every 30 minutes until they are as crisp or as chewy as you would like.
Let cool after drying. If you see any moisture reappear on the fruit after 20-30 minutes, or if the texture isn’t right, put the pears back in the oven for longer.

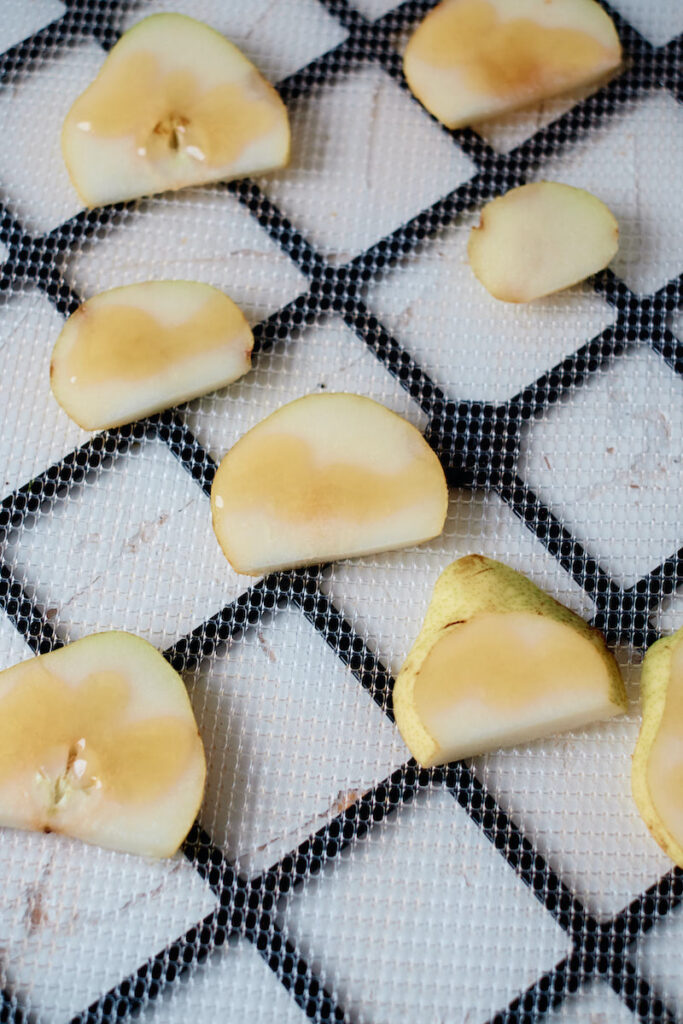
How to Cut Pears for Dehydrating
- Cut off the top and bottom ends of the pear. This will be where the stem is, along with the base of the pear that is probably uneven. You probably only need to cut off 1/2 inch or so on both ends, but it depends on your pear.
- Peel the pears. Remove the outer peel with a vegetable peeler to keep as much fruit as possible while also removing the skin.
- Cut the pear in half lengthwise. Remove the seeds and core with a spoon or a paring knife. You can also use an apple corer, which works on pears, too.
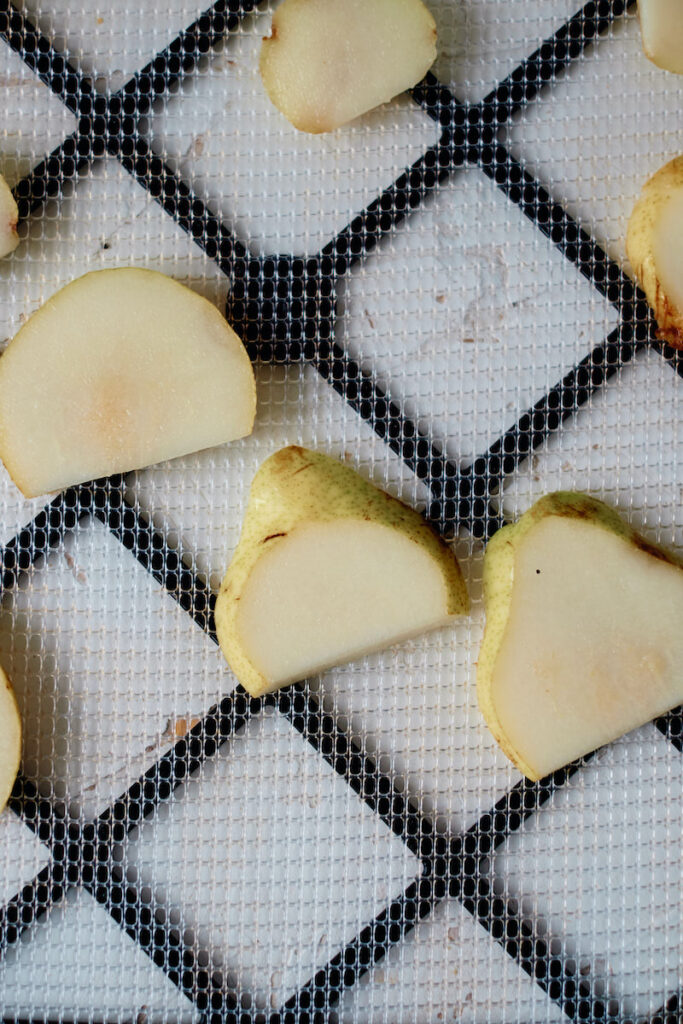
- You can choose to make either pear slices or pear chunks. Either way, cut the fruit to be about 1/4 – 1/2 inch thick. Any thicker will result in taking much longer to dehydrate.
How to Prevent Pears From Turning Brown
Just like apples, pears can turn brown when exposed to oxygen. While it might not be unhealthy to eat the brown fruit, it isn’t appealing.
To prevent the browning, you want to soak the pears in a slightly acidic wash. This will not affect the taste, but will prevent discoloration.
Combine 1 1/2 tablespoons of lemon juice, lime juice or vinegar with 4 cups of water. Soak the pear slices or pear chips in the acidulated water for 5 minutes.
If you have a lot of pears that you are peeling and cutting, it is wise to add the freshly cut pears into acidulated water as quickly as possible. Even if they soak longer than 5 minutes. Otherwise, they might start turning brown before you are done cutting all of them.
Drain the pears in a colander afterwards. You can also pat the pear slices dry with a clean kitchen towel or paper towels.
Helpful Tips for Drying Pears
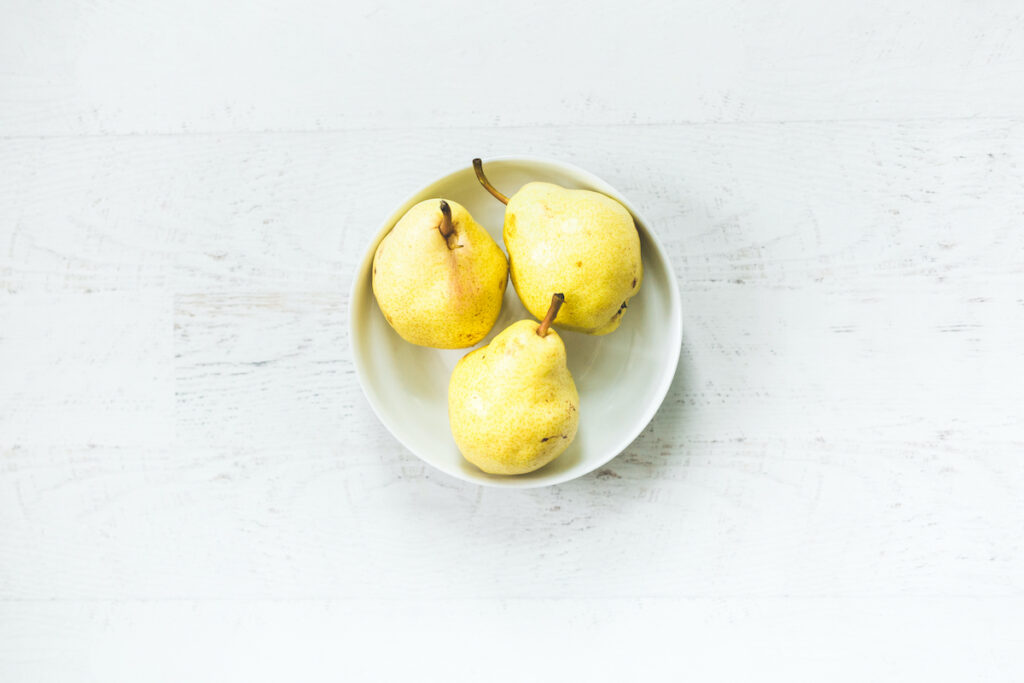
- Start with very flavorful pears, such as honey pears. Dried pears will not become any more flavorful than the original fruit. The sugars will just condense. But if you start off with a bland pear, you won’t have much taste with the dried pears.
- Bartlett pears are also great for drying. When they start turning yellow but aren’t too soft yet, that is the perfect time to dehydrate them.
- Slightly under-ripe pears will work a little better than overly ripe pears. Simply because they have less liquid to dry off. But feel free to dry ripe pears if they would otherwise go to waste.
- You can drizzle the pear slices with honey before drying to add even more natural sweetness and flavor.
- Sprinkle pears with cinnamon before dehydrating for a great taste.
- When adding pears to a food dehydrator tray or baking sheet, make sure they are not touching each other on the tray. This will allow plenty of air to circulate around each piece and speed up the drying time.
How Can I Use Dehydrated Pears?
Dehydrated pear slices are a great snack on the trail, while camping, or to enjoy as a snack on the go.
Dried pear chunks make a great addition to a trail mix. Or add them to the top of salads.
If adding dried pears to a baking recipe, such as a muffin mix, you will want to rehydrate dried fruit by soaking in water. Otherwise, the dried fruits will soak up the liquid in the recipe, causing it to not bake correctly.
How to Store Dehydrated Pears
Dehydrated pears should be stored in an air-tight container away from direct light or heat.
Pin This Recipe so that you won’t forget it!
Be sure to check out all of our recipes for how to dry fruit.